
Re-bushing a Nose Gear
I have been noticing severe "shimmy" during my last few landings. Upon checking the nose gear, I found it to be looser than the limits stated in the Ercoupe Publications. Installing a new steering ball joint did not improve it enough so I tore into the "scissors assembly."
Remember when doing this that it is best to have technical publications available. I have the Ercoupe Service Manual, the Ercoupe Parts Catalog and the Ercoupe Memoranda and Service Bulletins from Univair Aircraft Corporation in Aurora, Colorado, USA. Service Memorandum Number 41, in the latter publication, is sufficient FAA "technical data" for these repairs.
The bushings on the nose gear strut consist of a steel one rotating inside of a bakelite one. My steel ones did not move, and I found the scissors worn where the steel bushing is clamped in. Over time and tightening, the serrations on the end of the steel bushings had worn into the steel scissor parts - see pictures below:


Note particularly the wear on the inner sides of the holes where the bushing bolts ride.
I was told by Univair that the steel bushing should ride "finger tight" within the bakelite one. This was not the case for me and I had to use a "drift" pin to punch them out. This was all accomplished without removing the nose gear assembly from the aircraft.
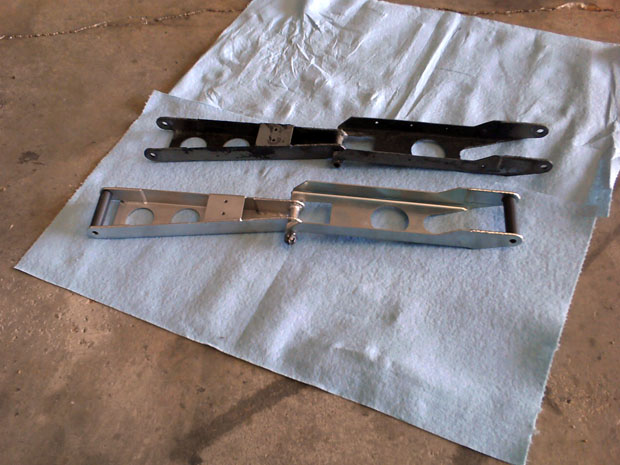
Above is a picture of the old (above) and new scissors. The bushings are in the new one to show how they will fit together when it is all assembled.

The above shows the scissors and one removed bushing set.
Pulling out the steel bushing scarred it up, and punching out the bakelite bushing distorted it. Both were completely unusable after disassembly.
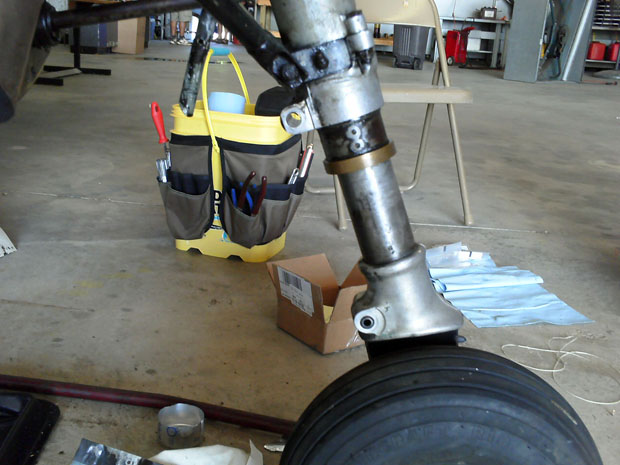
The nose gear assembly with one of the bottom bushing set in place. Since the bakelite (a plastic-like substance) was too large for the hole, I had to file it down a bit. Do this slowly and carefully! One does not want the bakelite bushing to get our of round. One should also measure the hole in the strut and the bakelite bushing ahead of time to leave a few thousands over size. I used a plastic-faced hammer to seat the bushing.
The bakelite bushing is shorter than the steel bushing by just a bit - about 1/32-nd of an inch. Be sure it is centered in the hole, with equal amounts of space on both sides, before fitting steel bushings. Steel ones should turn smoothly within the bakelite ones.

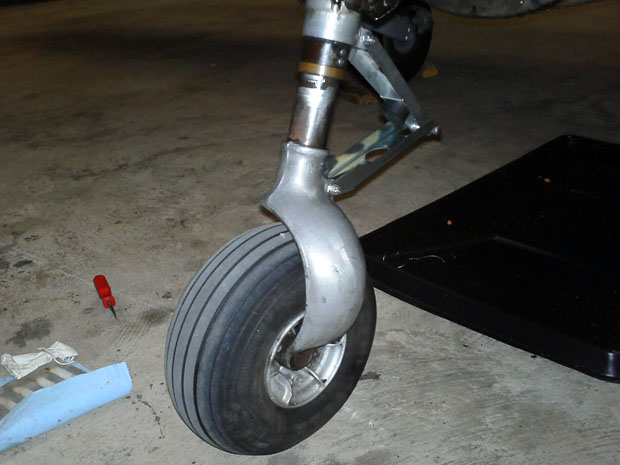
Here is a picture of the completed job. Note the rubber disc on the top scissor link. It is to keep the scissors slightly flexed so it will bend on landing. Otherwise, the nose wheel might remain too far out causing much strain on it.
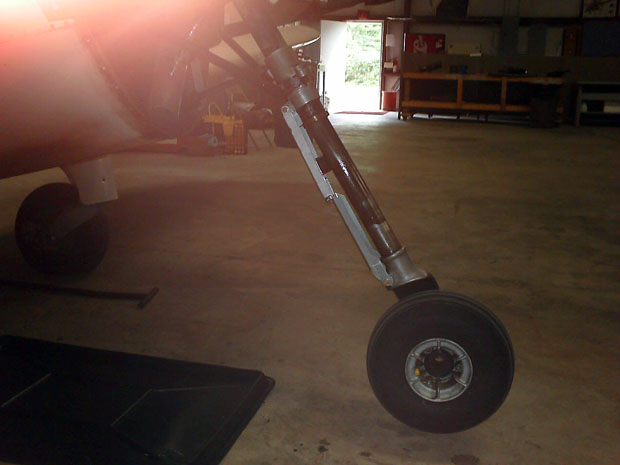
Another picture. The nose gear has not extended over what it was with the "snubber cable" was installed. This cable is not shown in any of the above publications from Univair. Legend has it that the cable was added by owners fearful of hitting the nose wheel first upon landing. They forget that the main wheels extend when the weight of the aircraft is off of them, and that early and unweighted contact by the nose wheels allows steering earlier in the landing process.

The above is of the completely extended gear. The wheel is off the ground.
This shows the rubber disk doing its job. Test taxiing seemed normal. More taxi tests are to follow, with flight tests to come.
Percy G. Wood, July 3, 2011